# Basic Tokel dApp usage guide.
# The following guide will give you instructions on how to download, install and use the Tokel All-In-One dApp on a desktop computer. As we develop more features, this guide will be updated.
# Download and Install
# Step 1: Download
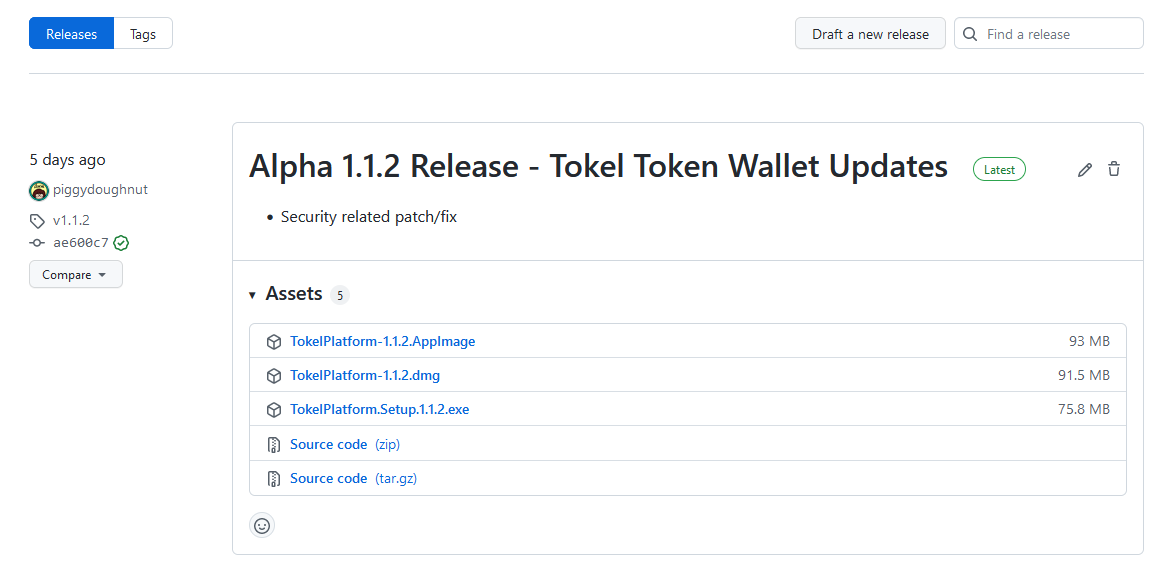
Download the appropriate operating system version of the latest Tokel dApp from the TokelPlatform/tokel_dapp github repository
https://github.com/TokelPlatform/tokel_dapp/releases (opens new window)
Version 1.1.2 is pictured, but please use the latest release.
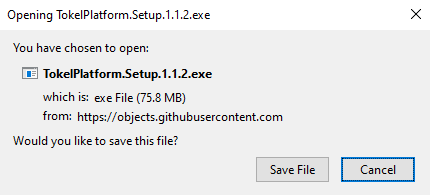
# Step 2: Install
Install the application using normal software installation procedures for your operating system.

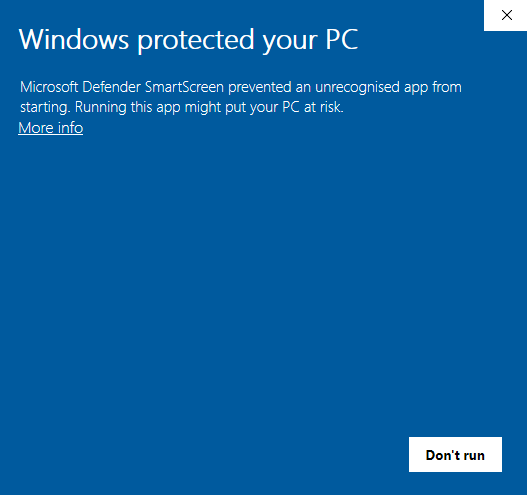
# For Windows users:
You will have to manually allow the application to run. This pop up should only show the first time you install the dApp.
Click 'More Info'
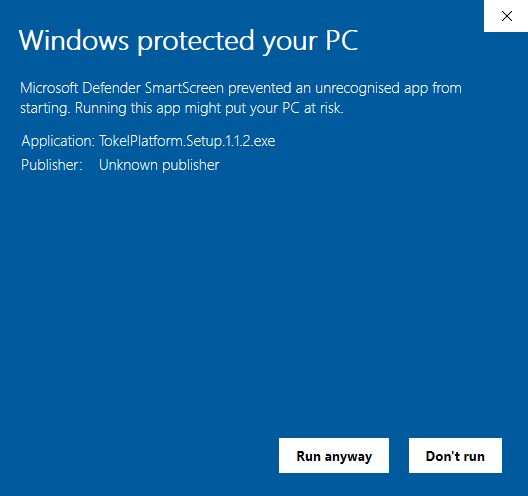
Click 'Run anyway'
# Step 3: Launch
If you've just installed the dApp, it will launch automatically. If you want to open the dApp at any other point, you will have to search for the Tokel Platform application and open it.
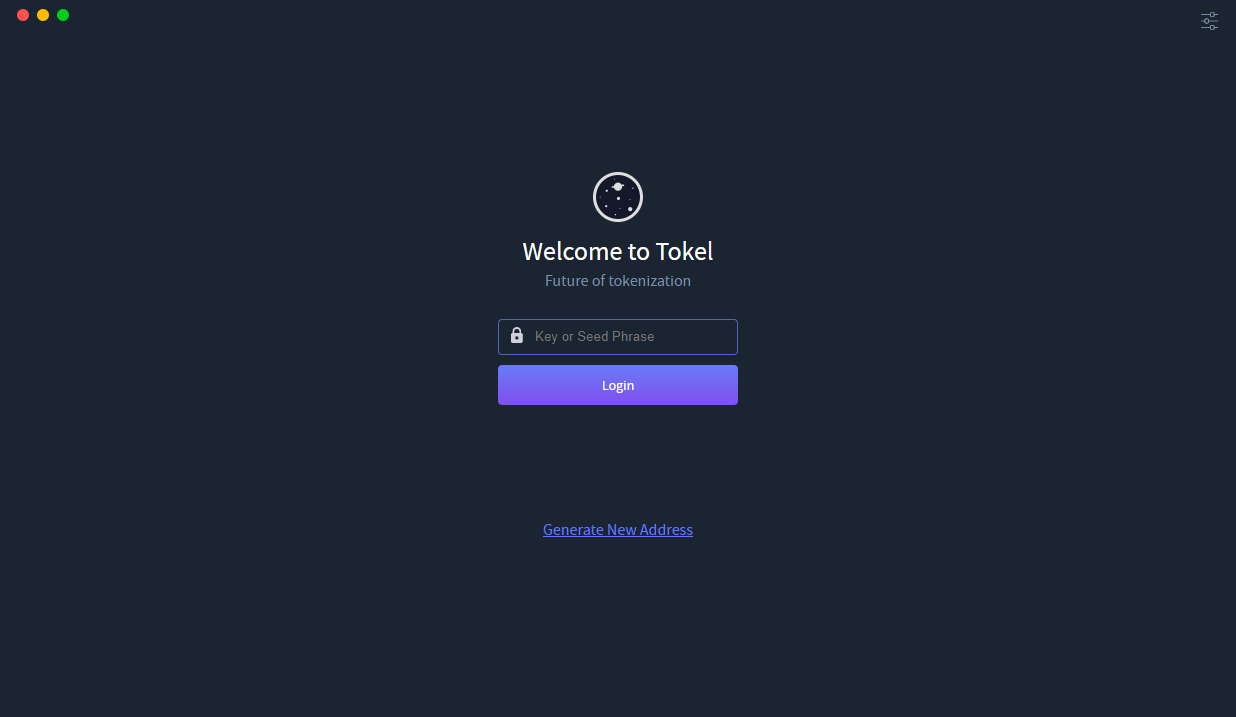
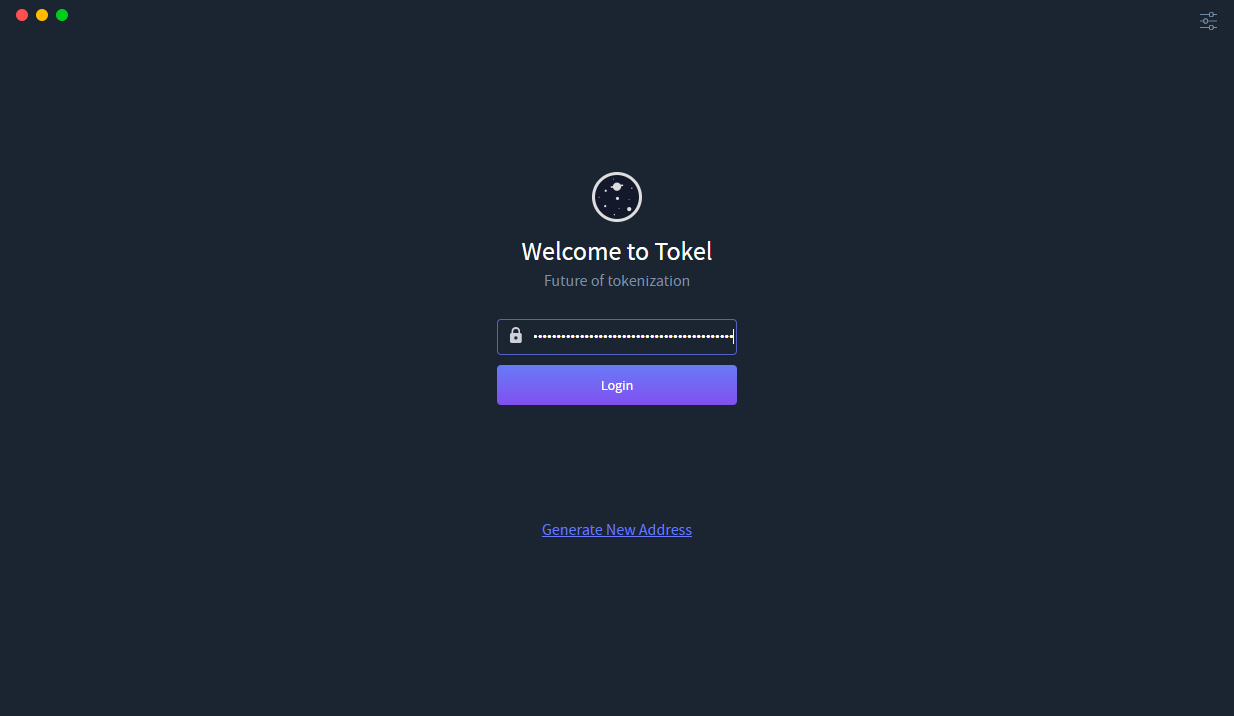
# Login
# Generate a new address
# Click 'Generate New Address" on the main login page.
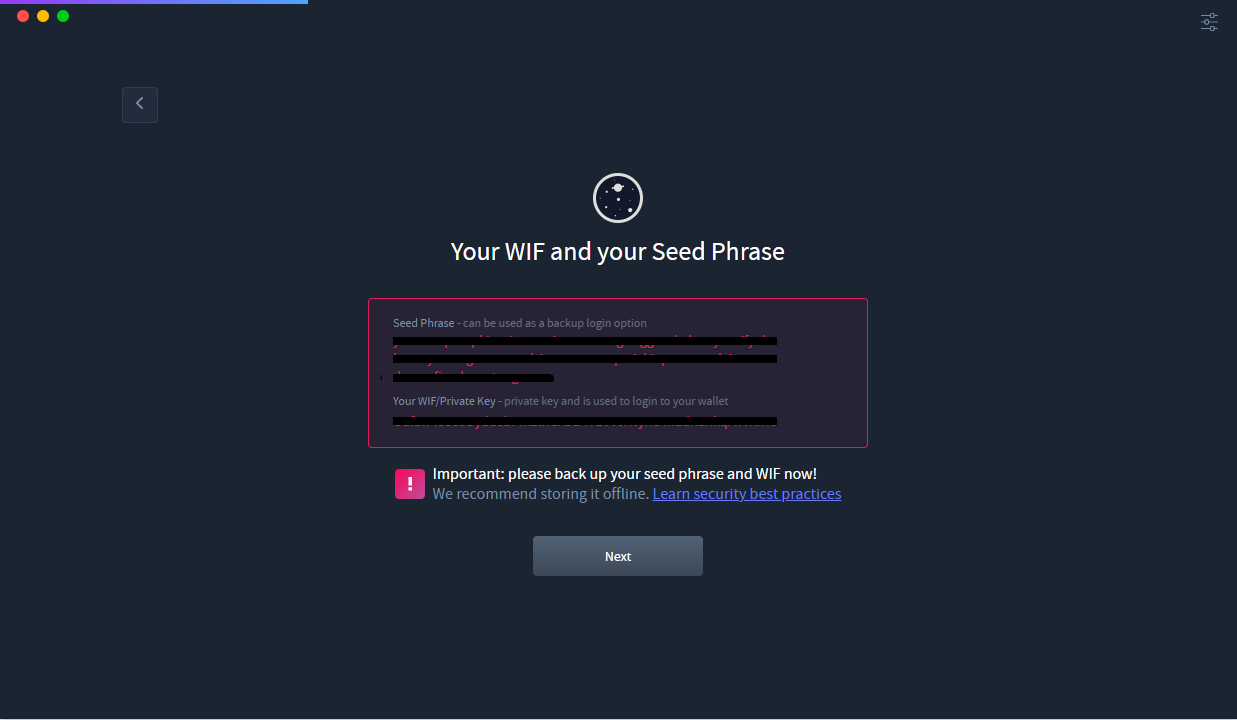
# Backup this seed phrase and WIF/Private key safely (click on Learn security best practices for more information). These give you access to your specific wallet address, without them, you cannot access that address ever again.
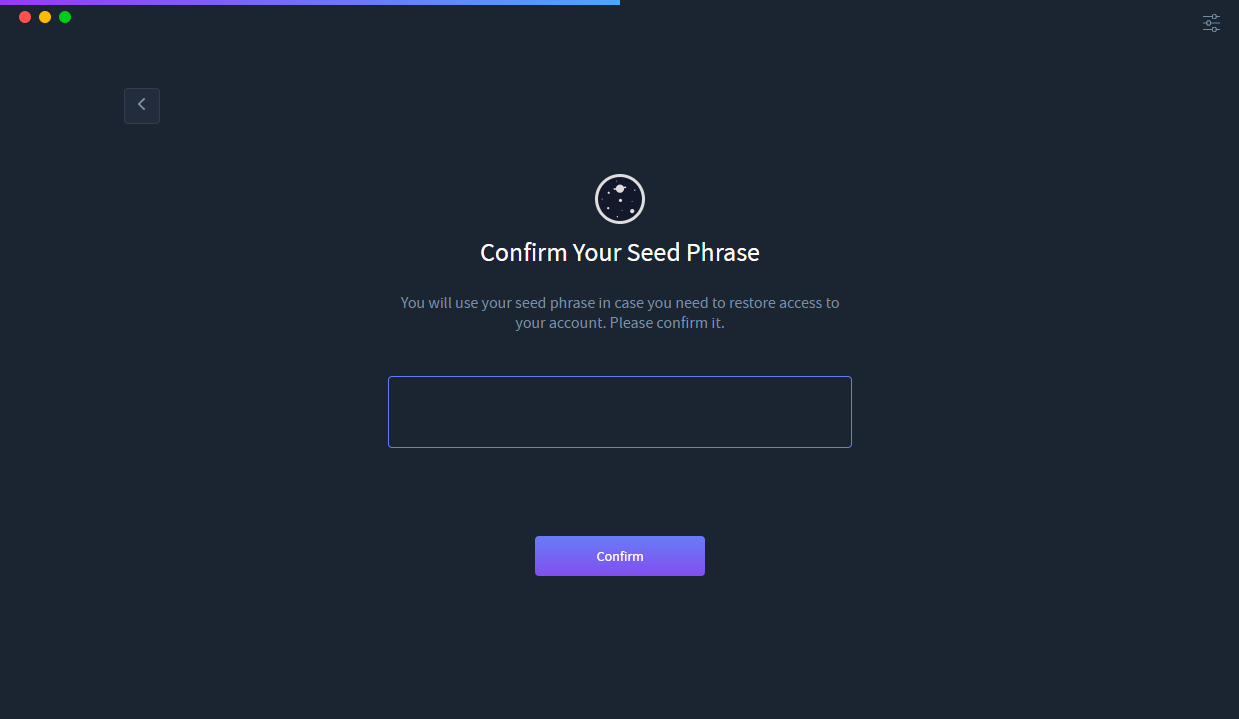
# Write in the previously shown seed phrase.
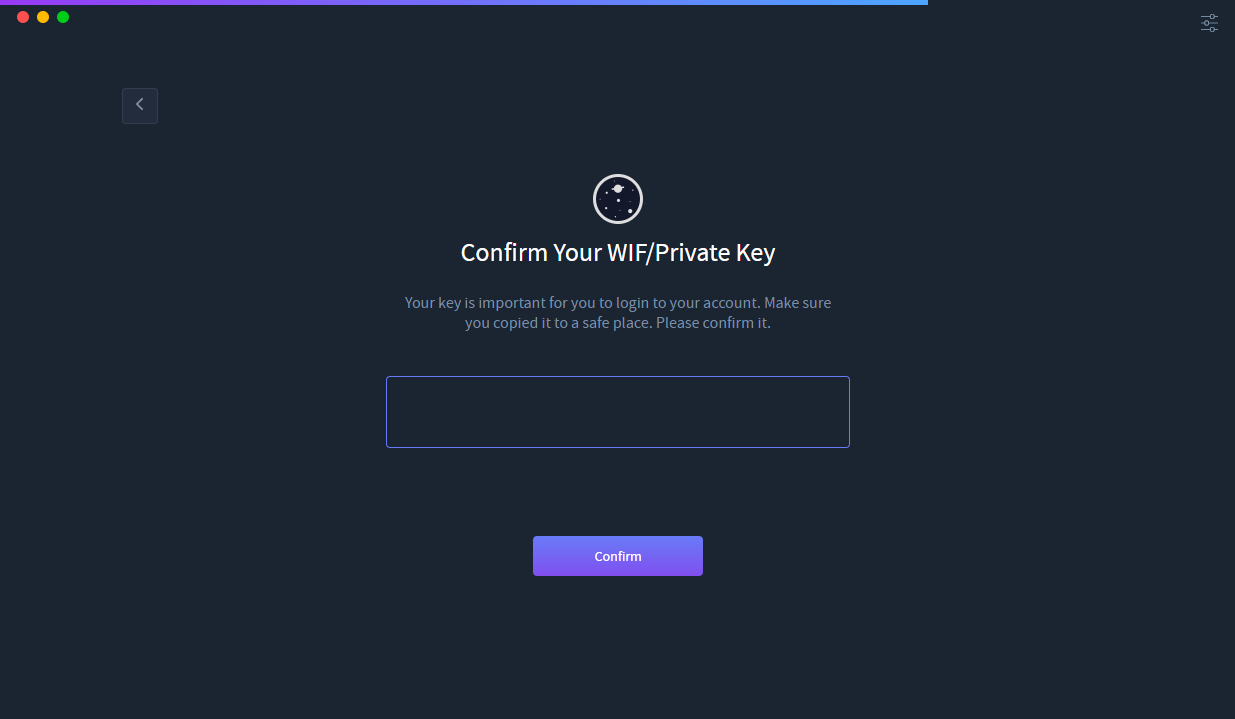
# Write in the previously shown WIF/Private key
# Congratulations, you've logged in to your new address!
# Use your own address
You can log straight into the dApp using any private key/WIF or seed phrase from an already known address. All you need to do is input the private key/WIF or seed phrase into the input field and click login.
TIP
Note: THIS IS NOT A PASSWORD FIELD. This input field is currently for private keys, WIFs or seed phrases only.
# Congratulations, you've logged in to your address!
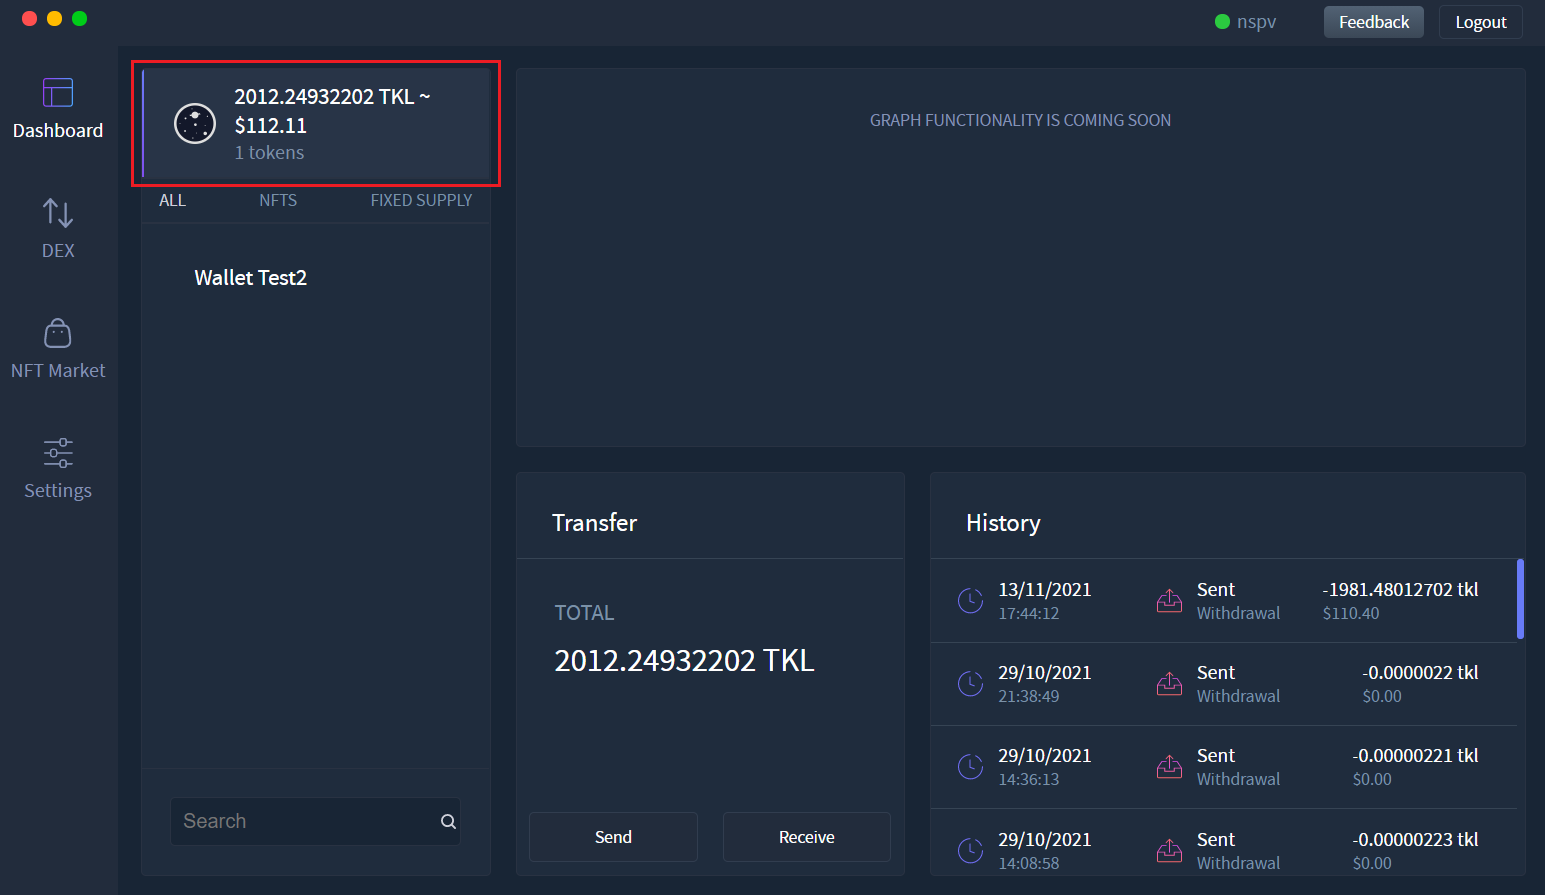
# Confirm it is the address you're expecting by clicking the coin wallet panel
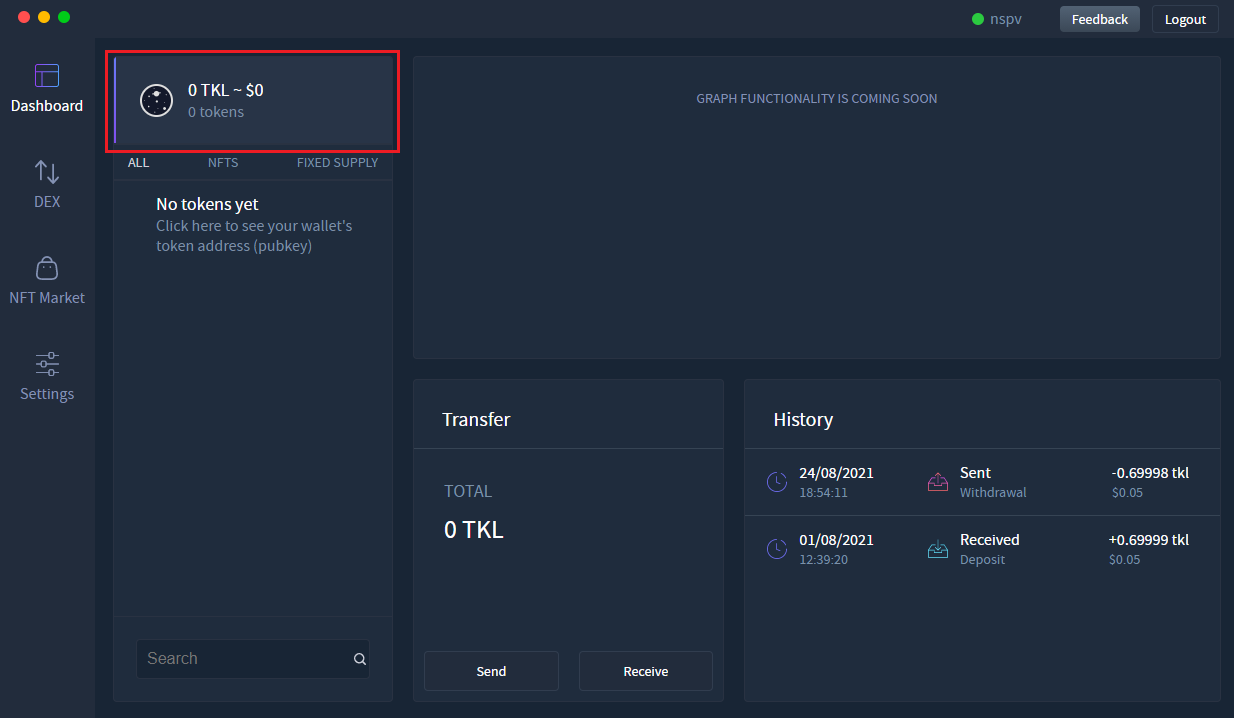
# Click the 'Receive' button
# Confirm the address corresponds to the address you are expecting
If the address is different from the address you were expecting, you have input the incorrect seed phrase, private key or WIF. Please log out and try to log in again using the correct seed phrase, private key or WIF.
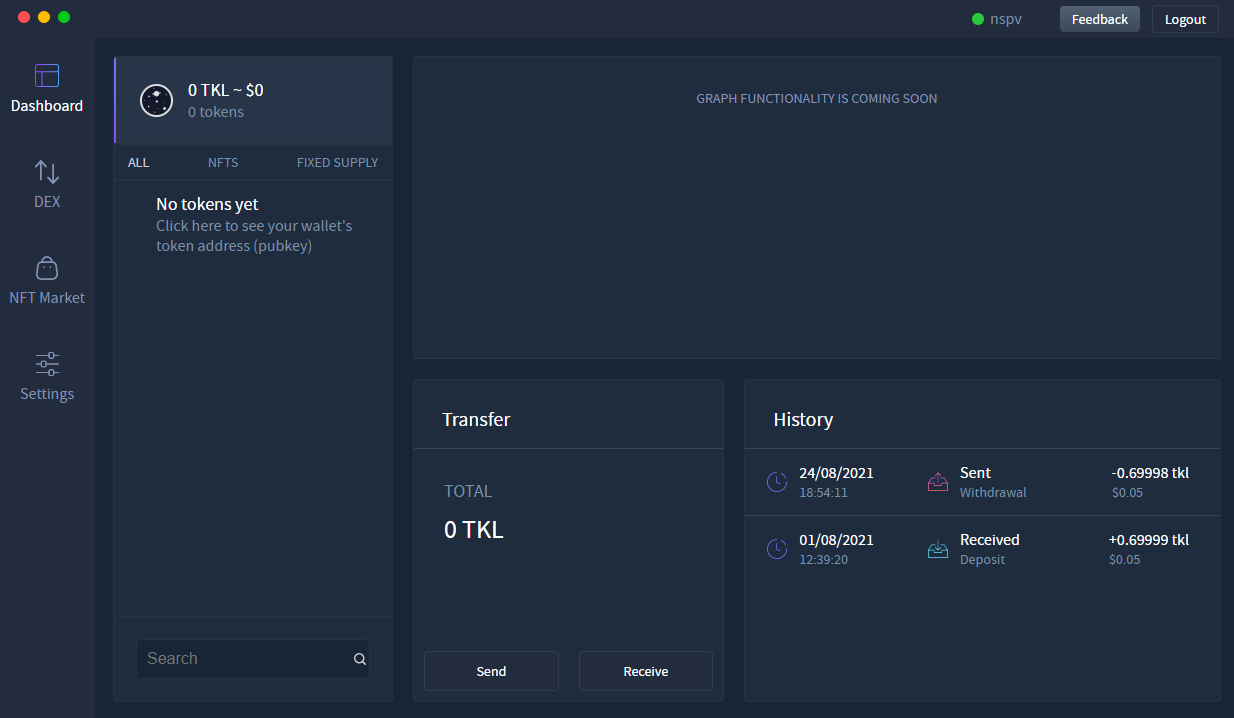
# Send/Receive TKL
Login to your address using the instructions above.
# Send TKL
Prior to sending any TKL coins, you must have some available in your wallet.
# Click the coin wallet panel.
# Click the 'Send' button
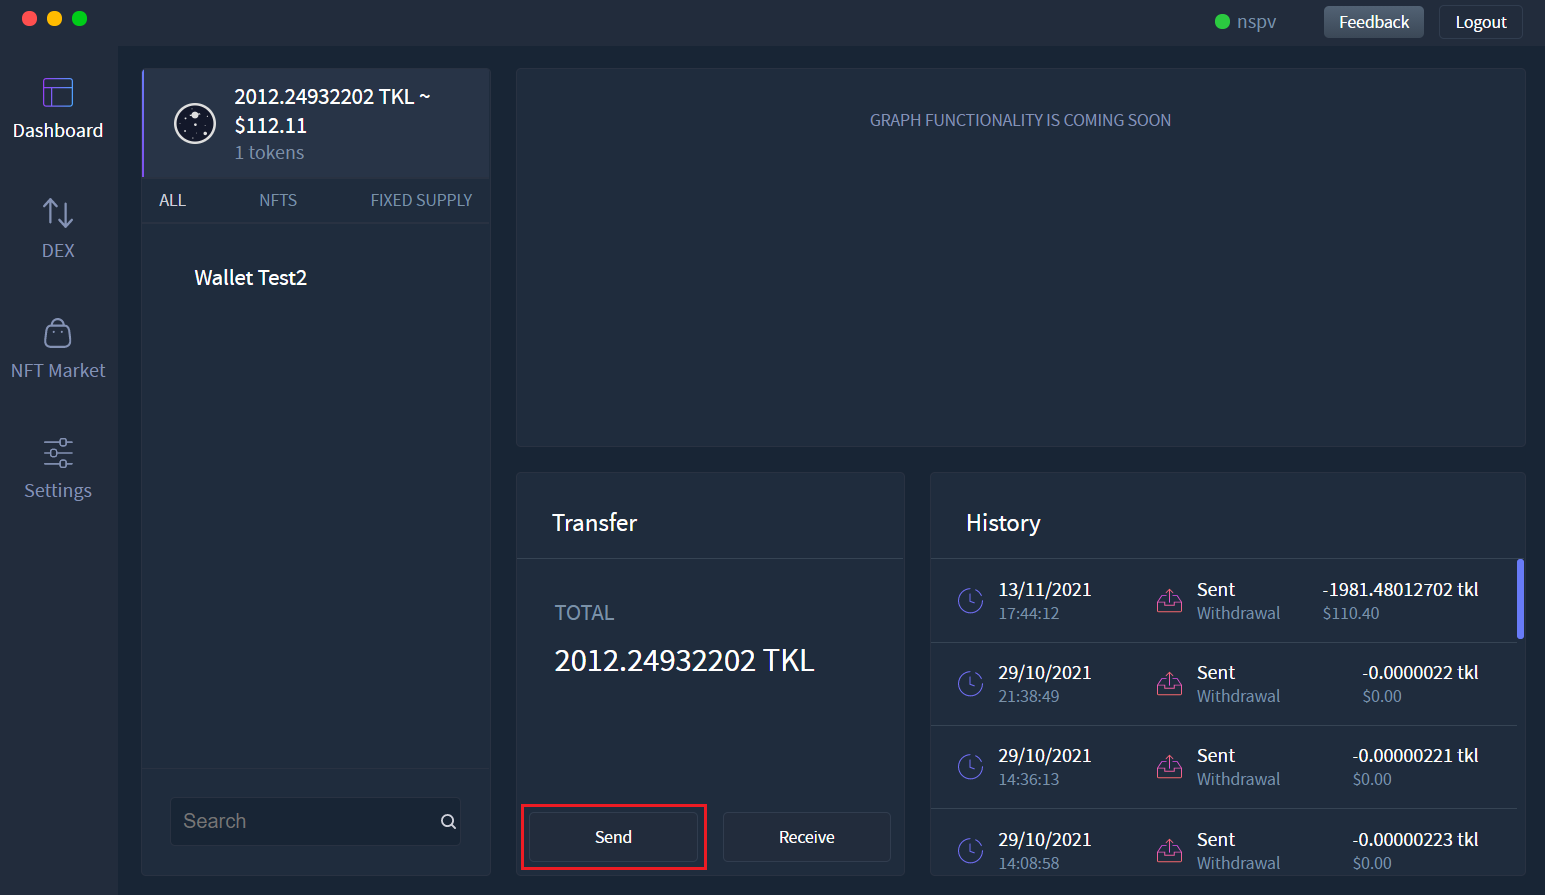
# You should now see the Send menu
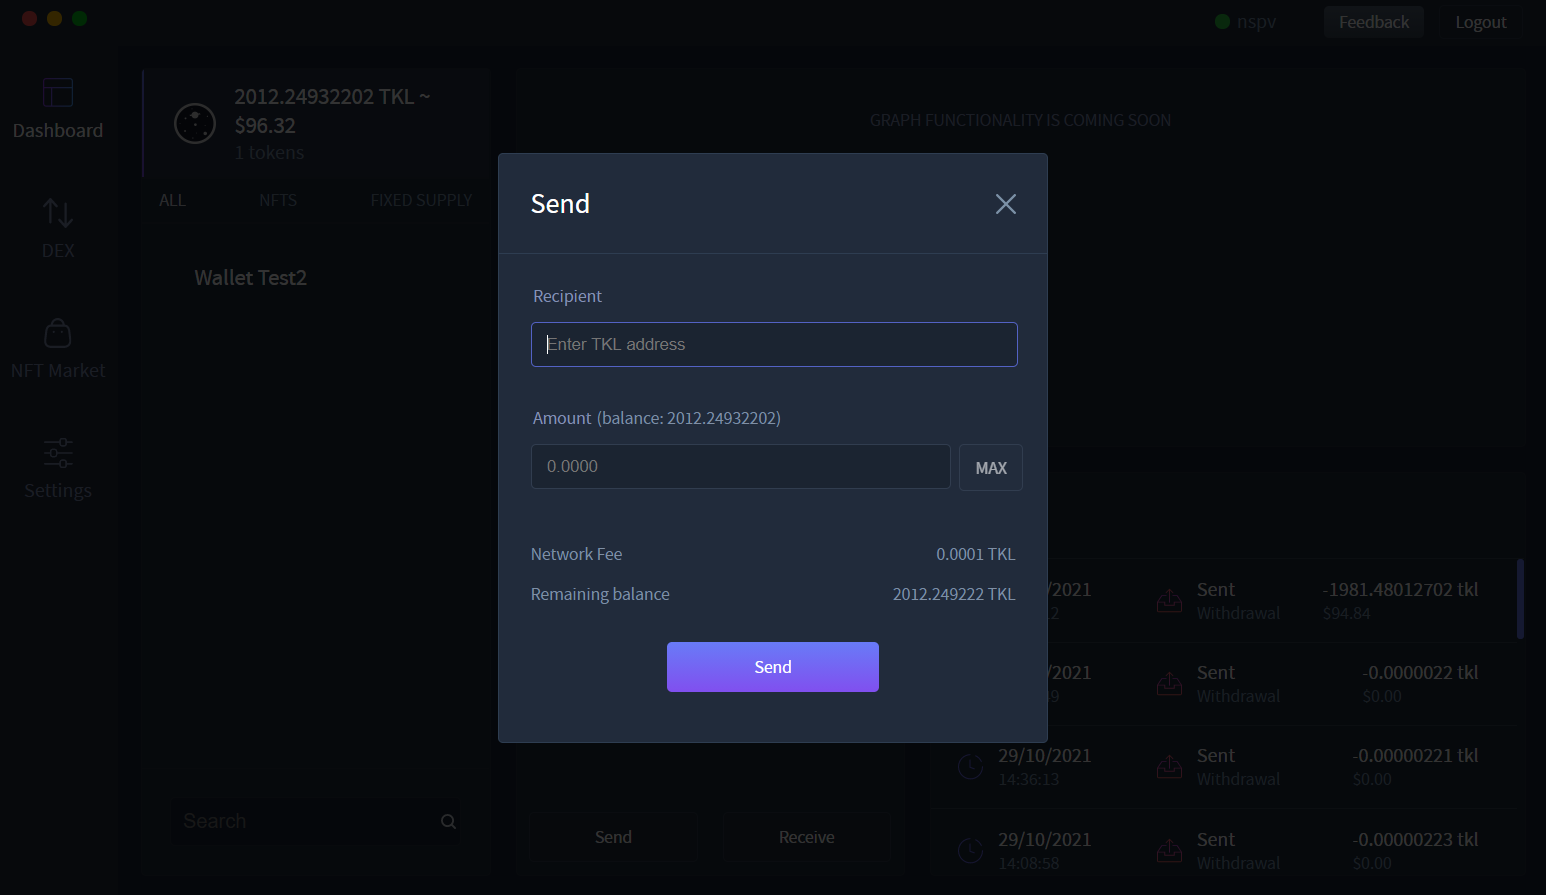
# Input the recipients TKL coin address (not their token address/pubkey) & the amount of TKL you wish to send
An example of a TKL coin address is: RRyTkLrAPRUBCUpiJgJZYrkxqrhd45ta9Z
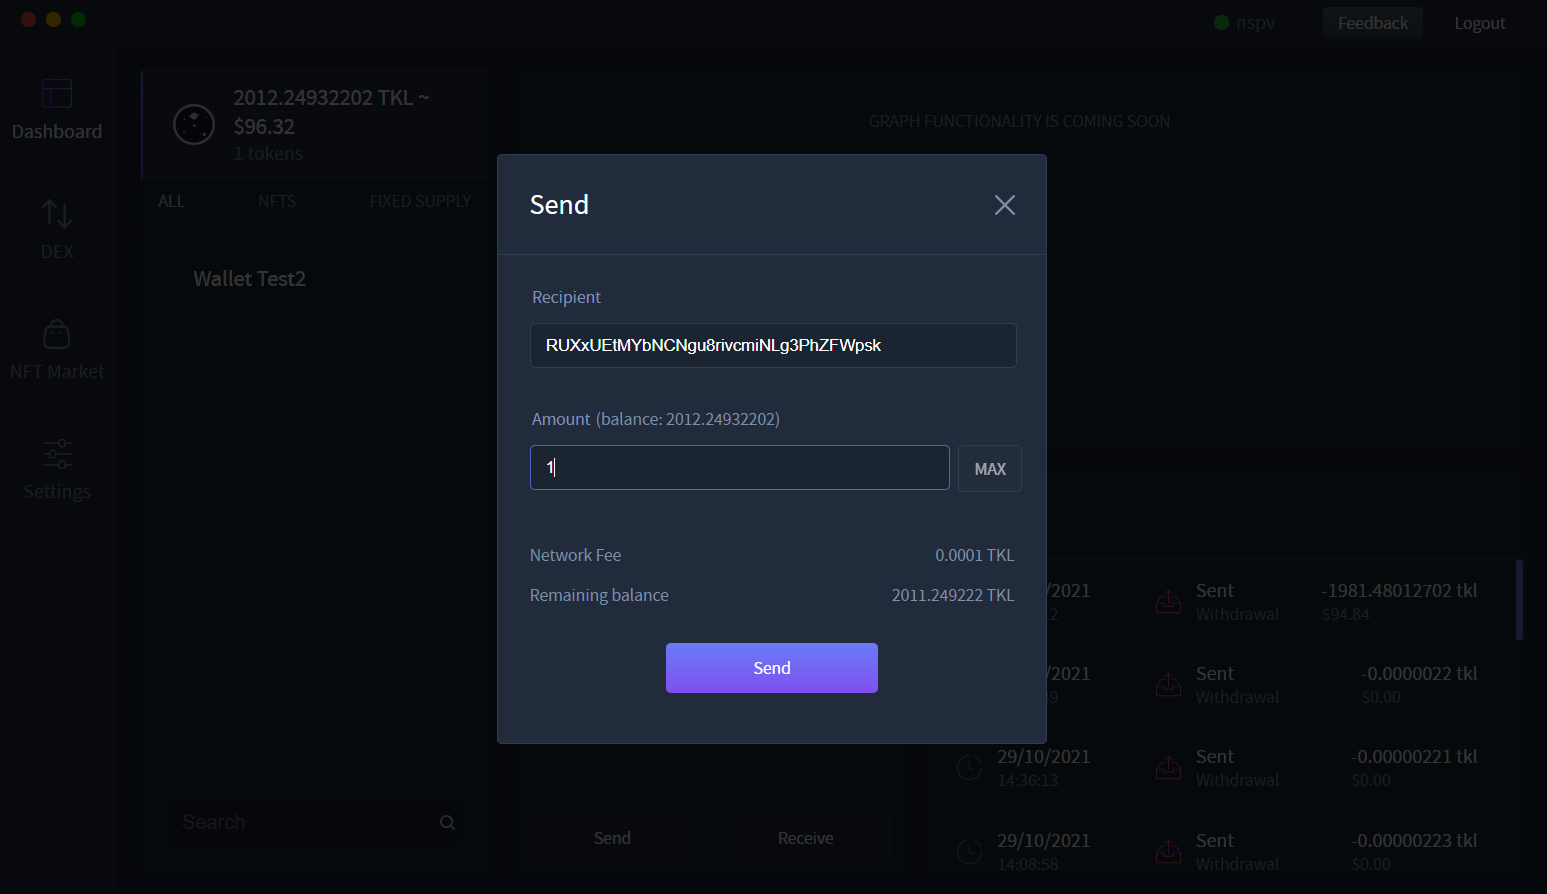
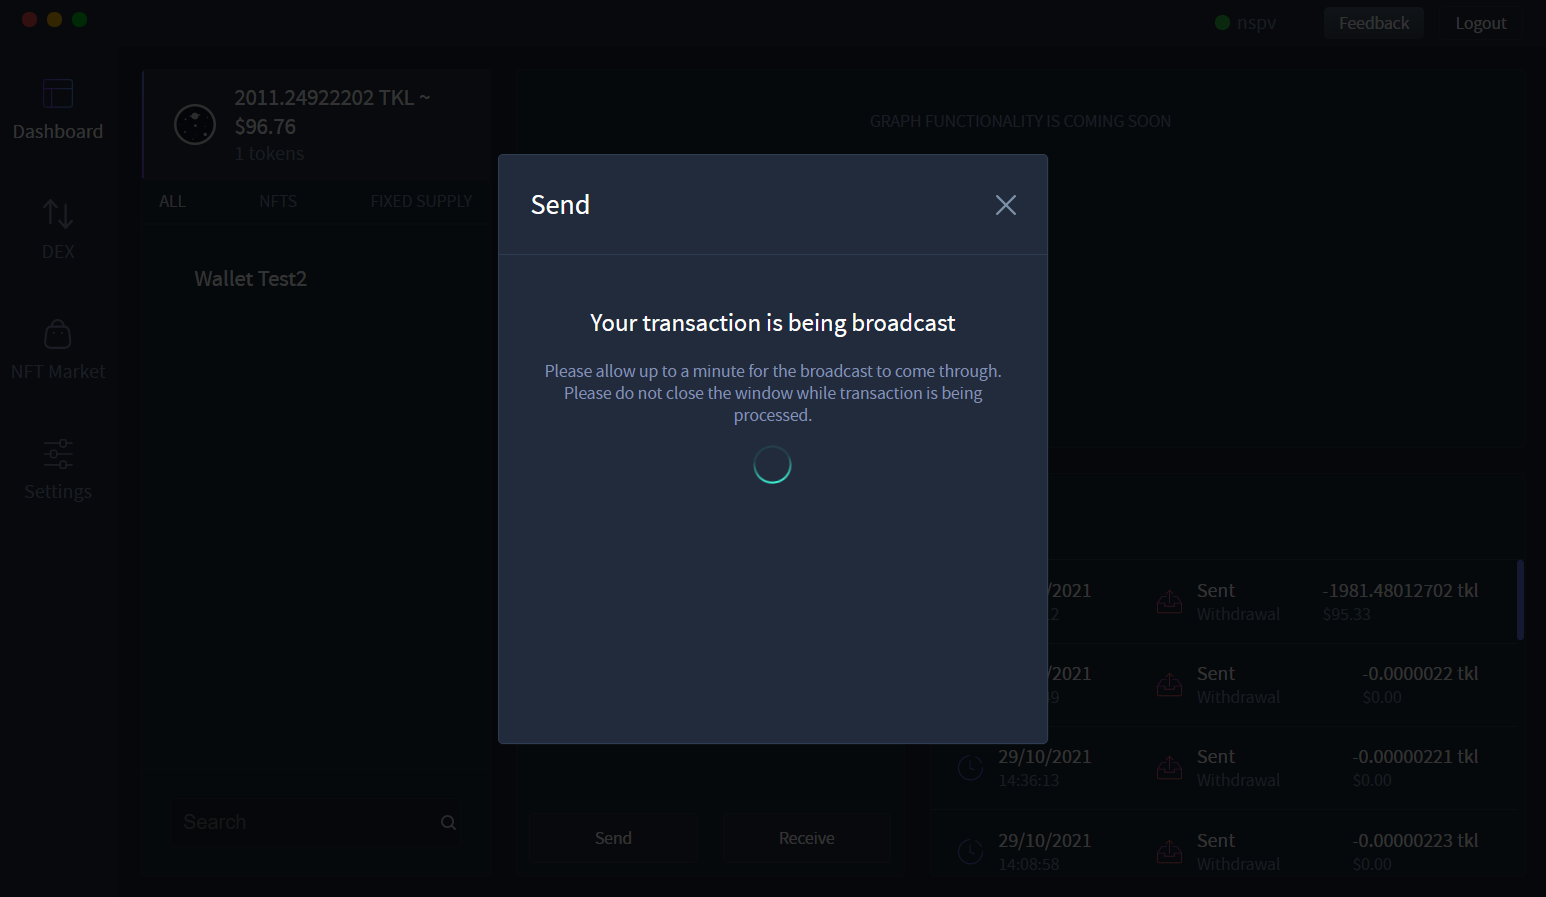
# Double check your input and click 'Send'
Wait for your transaction to be broadcast to the network
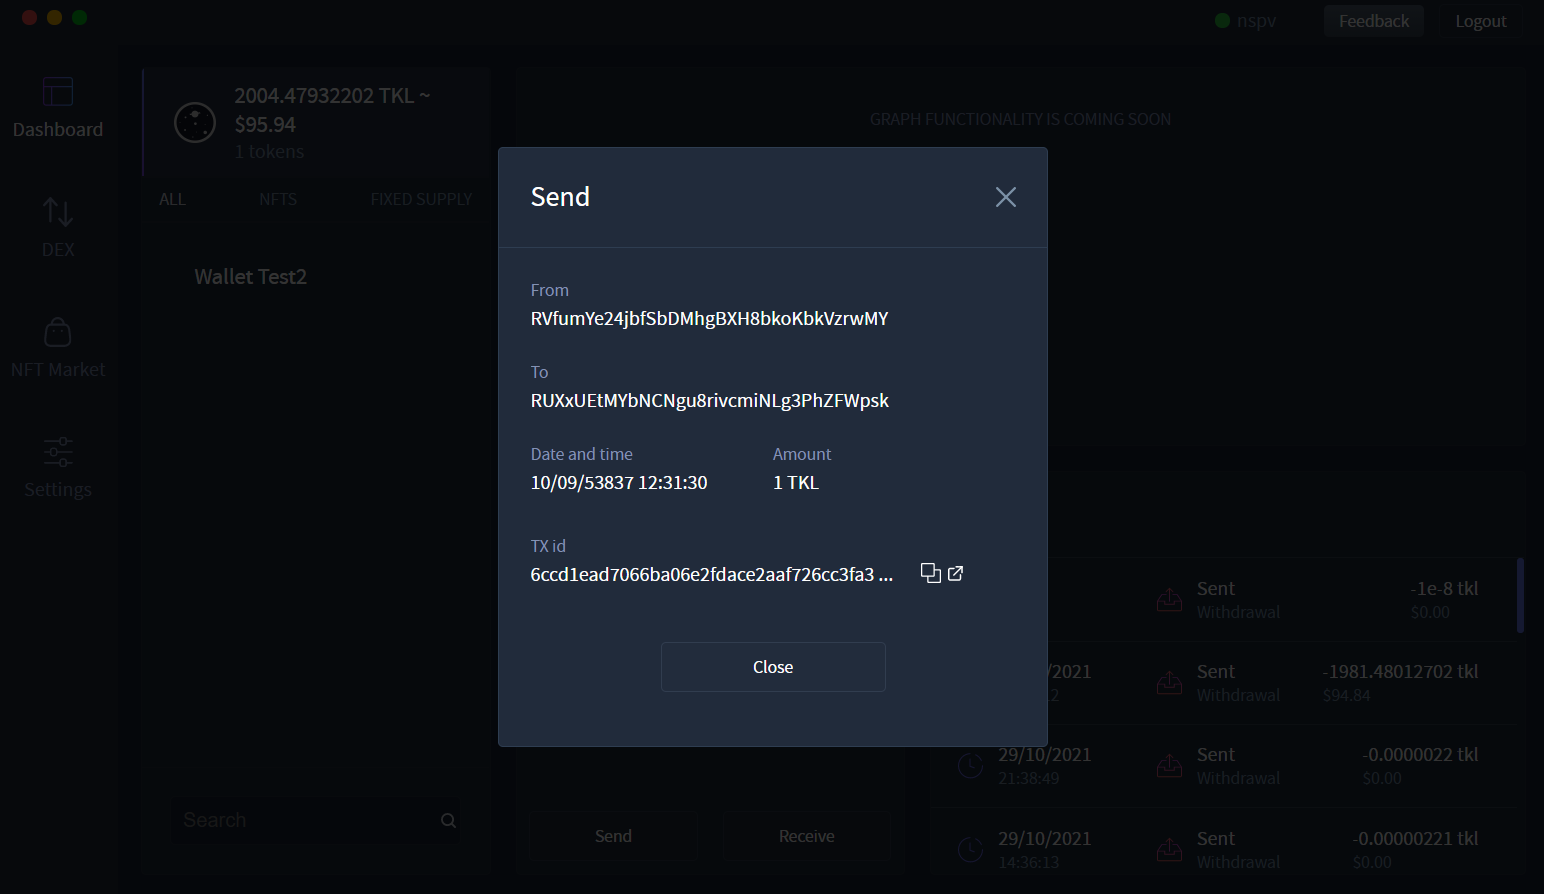
# Congratulations, you've just sent some TKL!
The dApp will output your transaction data and a link to the transaction on the explorer.
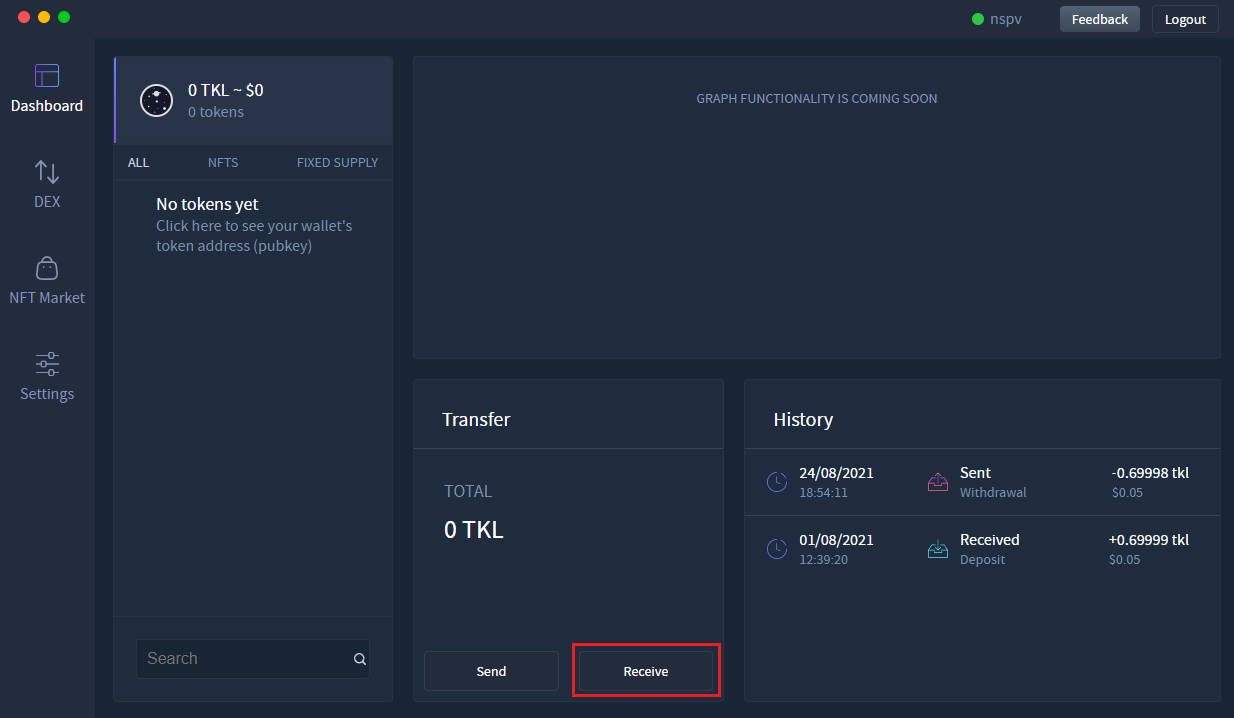
# Receive TKL coins
# Click the coin wallet panel.
# Click the 'Receive' button
This will output your TKL coin address with a button to copy it to clipboard and also a QR code that outputs the address.
TIP
Note: You are not able to send tokens to this address. To receive tokens, please look at the Send/Receive tokens section of this guide.
# Give this address to the entity that will be sending you the TKL coins
This is your TKL coin address. This address is the associated address with the private key/WIF or seed phrase you input at login. It can be used to send/receive TKL coins. As Komodo and it's smart chains use the same types of addresses, you can also use the same private key/WIF or seed phrase on the Komodo (and other smart chain) blockchains, to send/receive funds from the same address.
If you'd like to check the balance of this address accross Komodo and all of it's smart chains, you can use this asset viewer.
https://dexstats.info/assetviewer.php (opens new window)
# Send/Receive Tokens/NFTs
Login to your address using the instructions above.
# Send a token/NFT
Prior to sending any tokens, you must have some available in your wallet.
# Click the token wallet panel by clicking on the token you wish to send
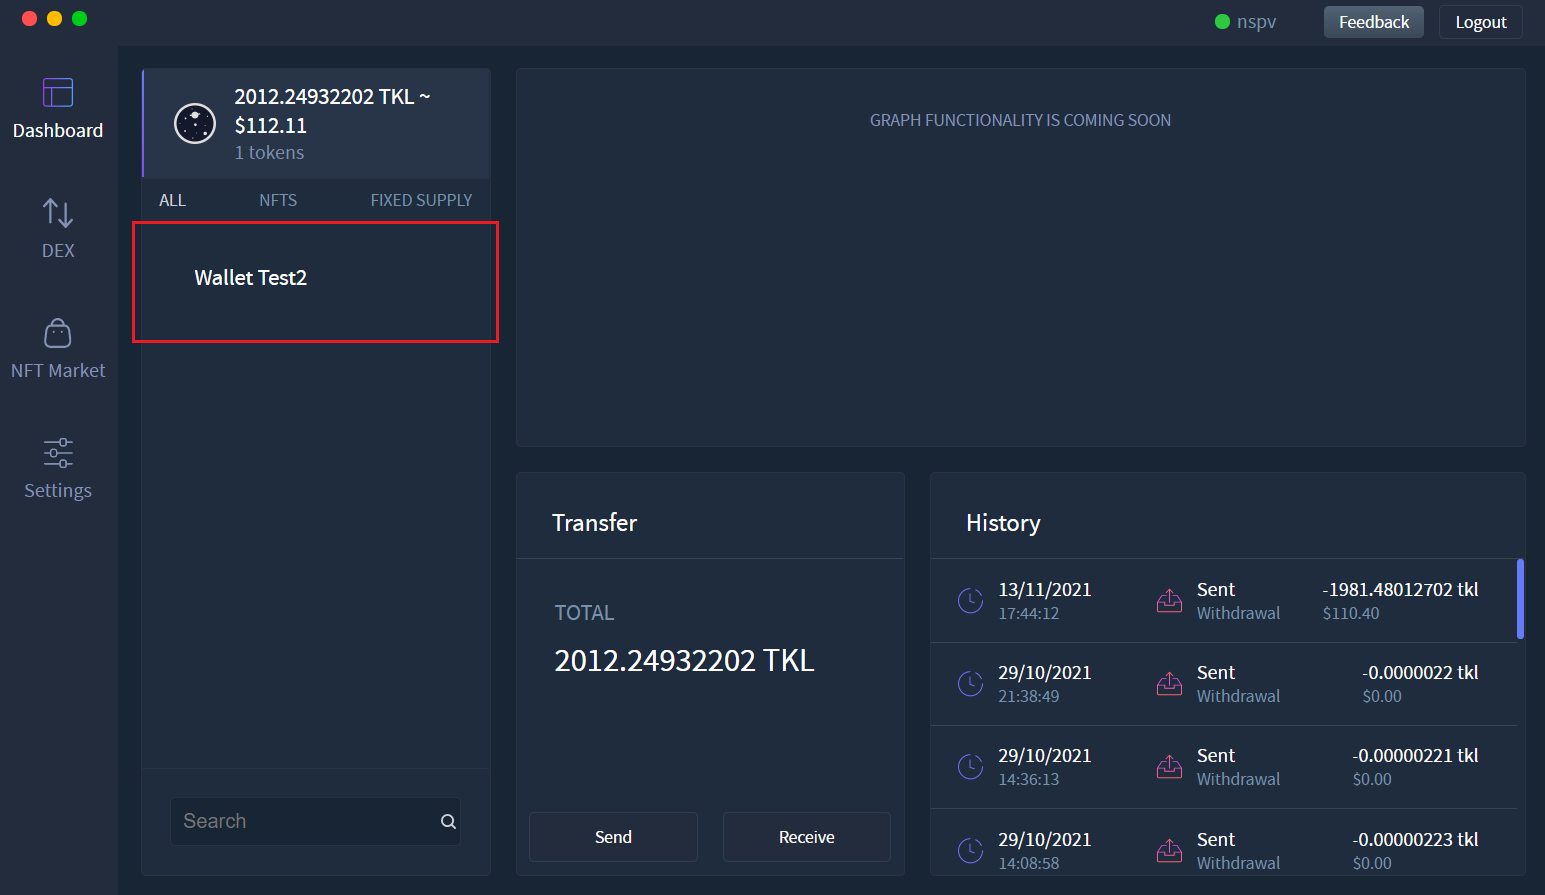
This will output all of the associated data for that specific token. This includes the send/receive buttons. They are specific to the token you have selected.

# Click the send button
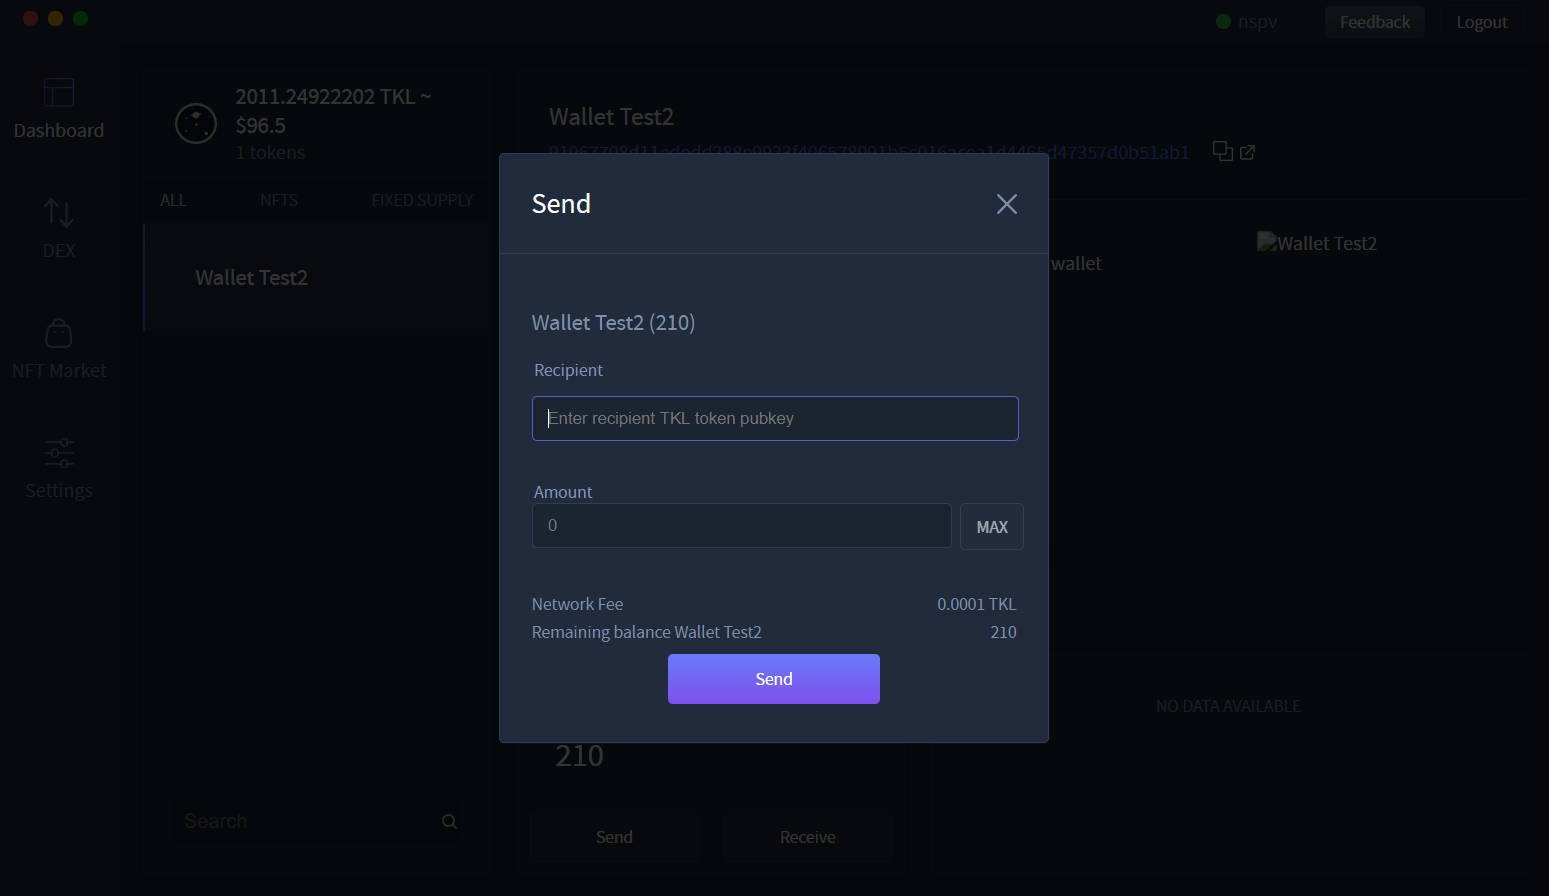
# You can now input the recipient token address (pubkey) and the amount of tokens you wish to send them
If you are sending an NFT, you will only be able to send 1 of them.
TIP
Note: You cannot send tokens to a TKL coin address.
An example of a token address (pubkey) is: 020e0f6fe6e0fcdcac541eb728d6fe538a12adff20412b3c8a7fa892b223a47c2f
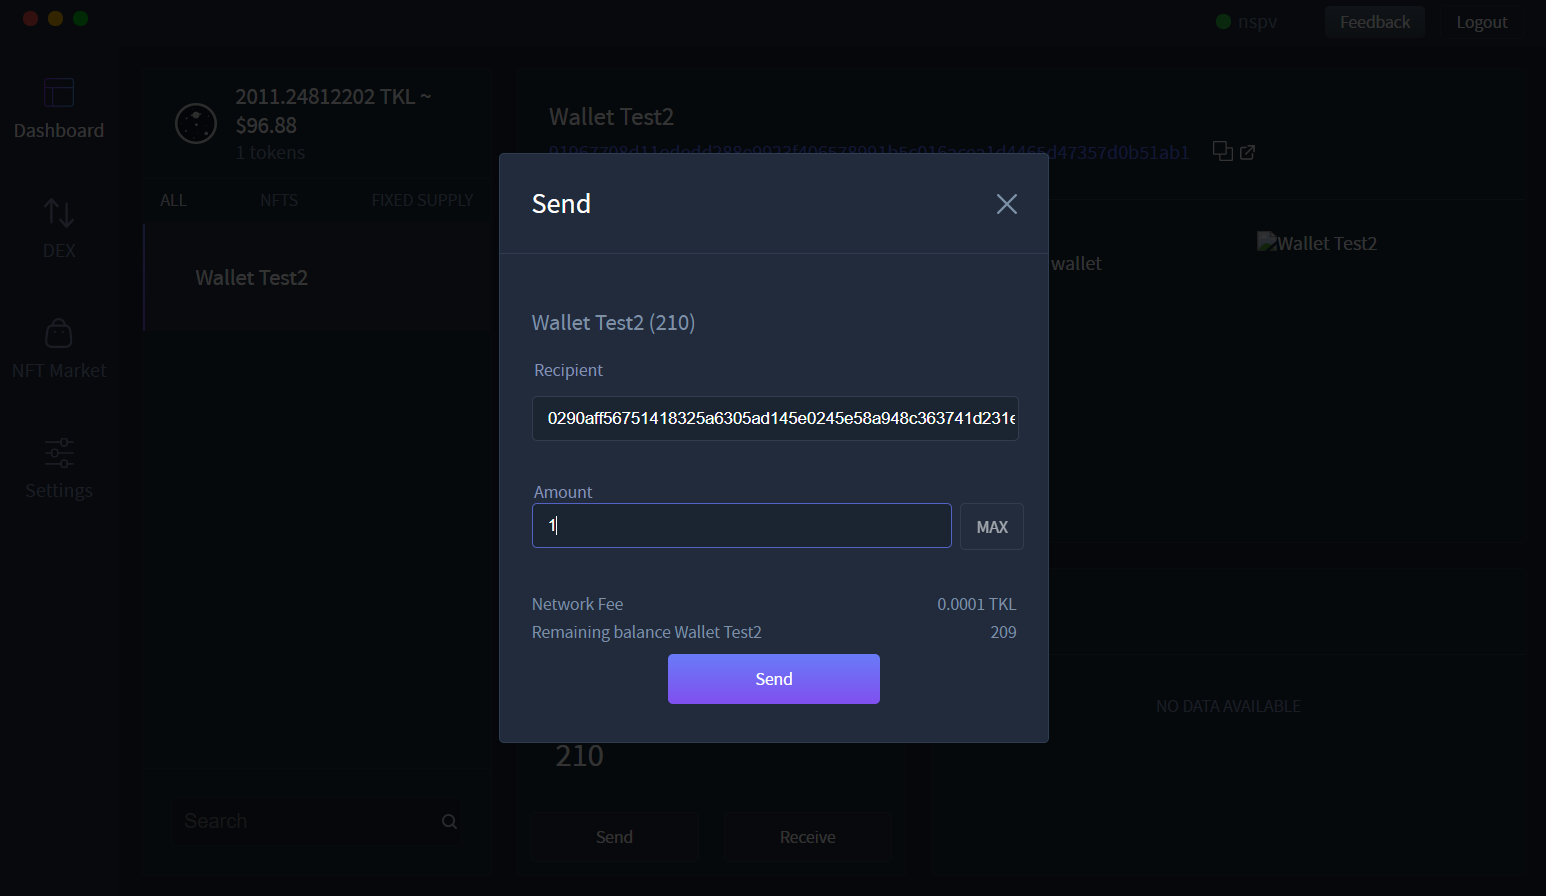
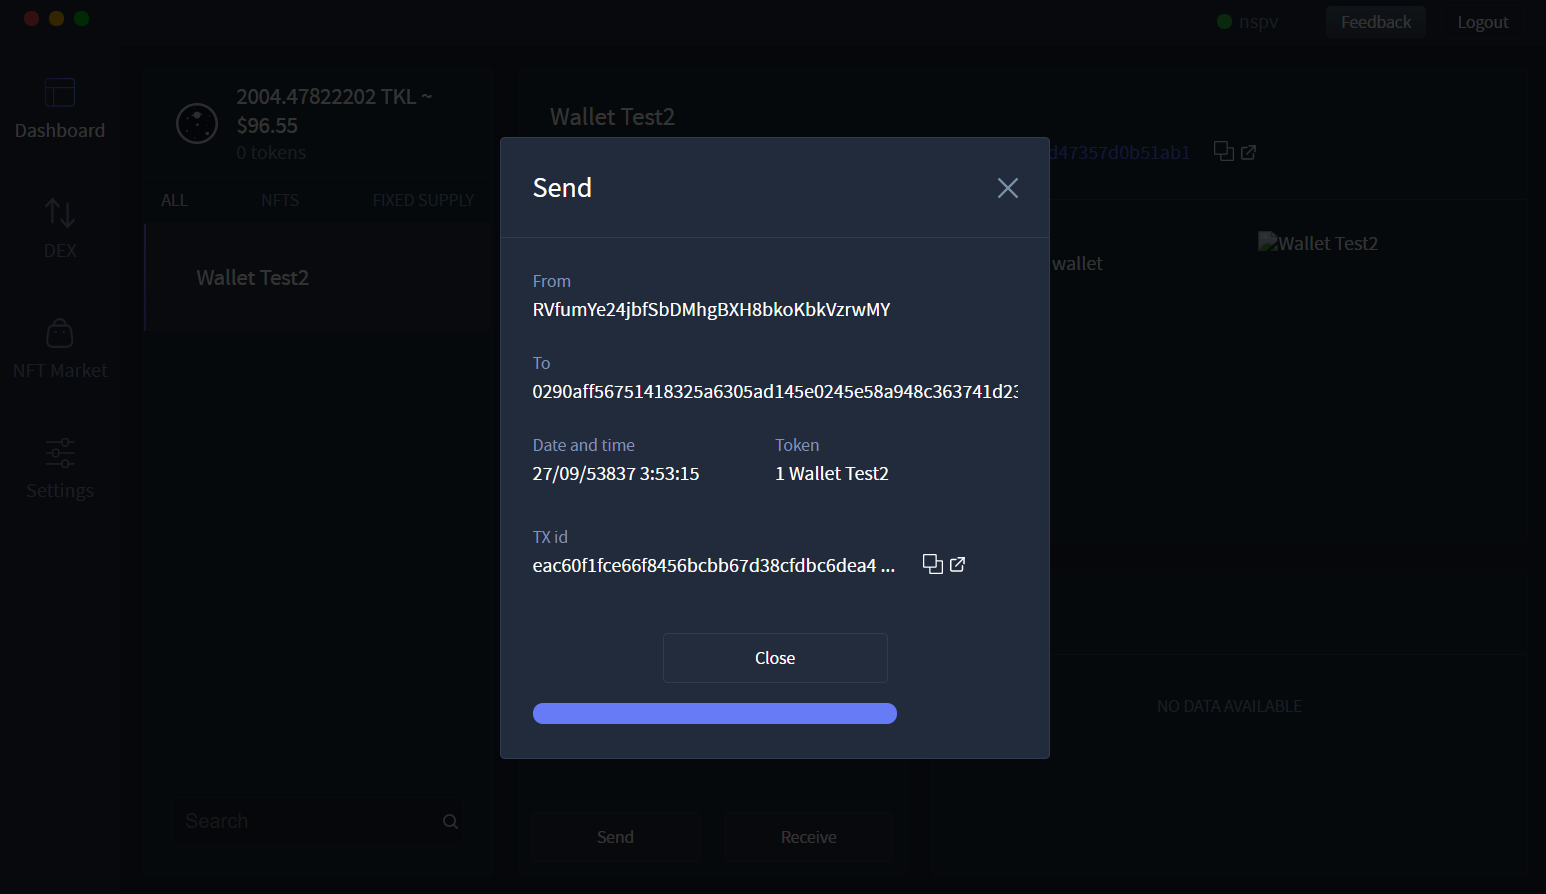
# Wait for the transaction to be broadcast and view the transaction summary
# Receive TKL coins
# If you have no tokens, simply click the token wallet panel.
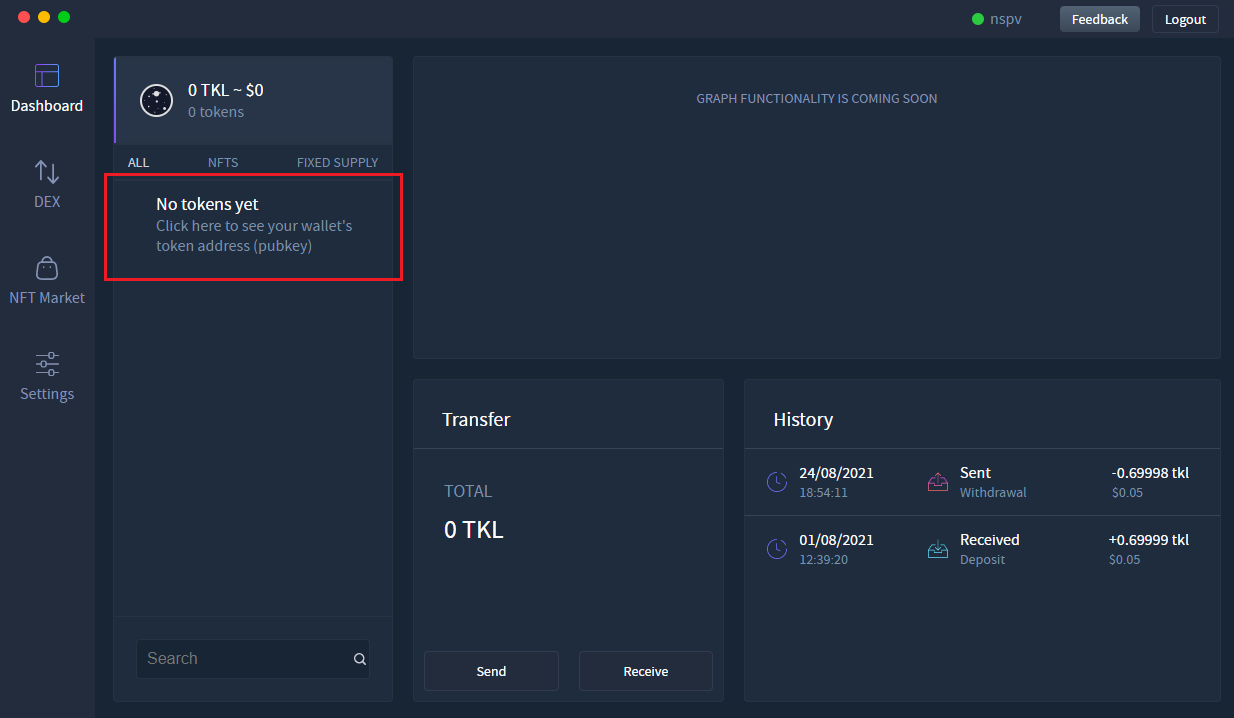
This will output your TKL coin address with a button to copy it to clipboard and also a QR code that outputs the address.
TIP
Note: You are not able to send tokens to this address. To receive tokens, please look at the Send/Receive tokens section of this guide.
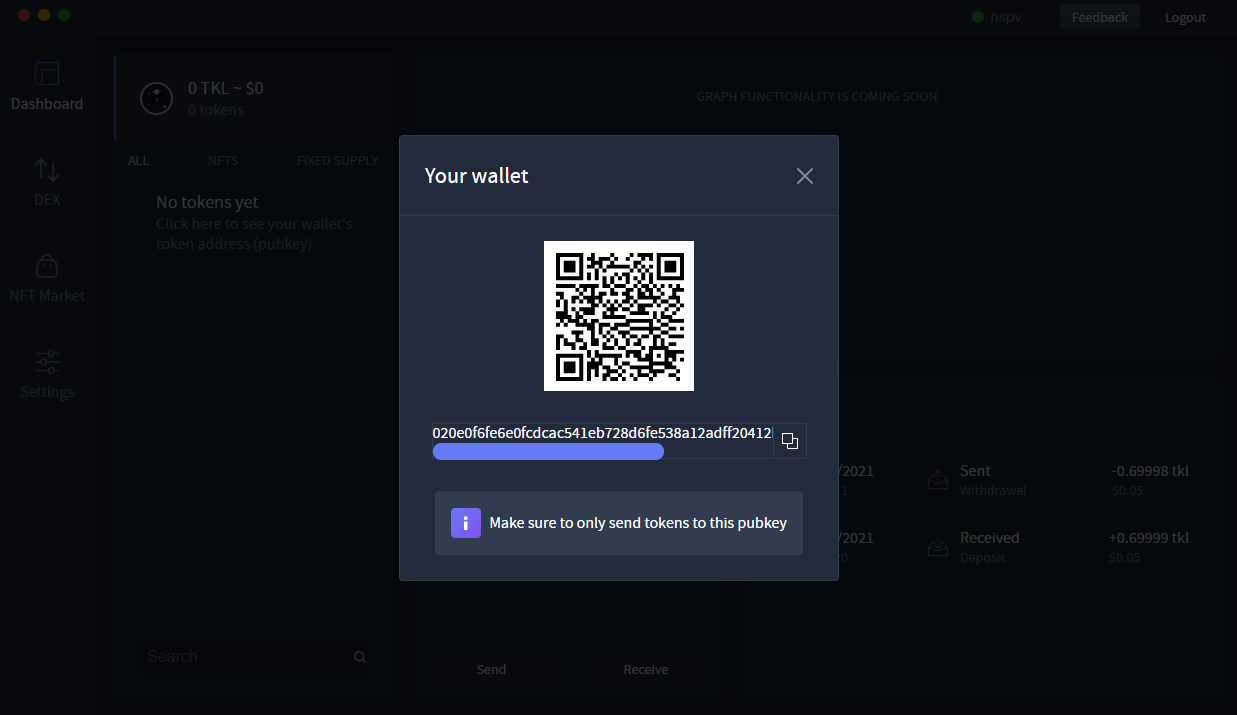
# Give this address to the entity that will be sending you the token
This is your token address (pubkey). This address is the associated address with the private key/WIF or seed phrase you input at login. It can be used to send/receive any token on the Tokel blockchain.